Materials and Tools Needed for Building a Display Case
Essential Tools to Bring Your Vision to Life
Building a display case is like crafting a home for your most cherished treasures. To make it a reality, you’ll need the right tools in your corner. First on the list? A trusty power drill. This is your go-to for creating precise holes and ensuring your framework holds together like a dream. Pair this with a set of wood screws—because nothing says “sturdy” like well-secured joints.
Then there’s the magic touch: a miter saw. It’s perfect for cutting wood at clean angles, so your case doesn’t just stand—it shines. Add in a screwdriver (manual or electric) for those intricate finishing adjustments. And don’t forget sandpaper! From smoothing rough edges to prepping surfaces for paint, it’s your secret weapon for a polished finish.
- Measuring tape (measure twice, cut once!)
- Wood glue for extra reinforcement
- A paintbrush or roller if you’re adding color
The Materials That Make Your Case Stand Out
The star of the show? Wood planks, specifically pine or birch for their durability and sleek finish. For transparent charm, equip yourself with clear acrylic sheets—lighter and safer than glass but just as stunning. Get some hinges for doors that open smoothly and magnet latches for easy closure. Oh, and don’t skimp on brackets; they’re the unsung heroes of stability.
Finally, don’t overlook the little details. From stain or lacquer for a rich, protective finish to tiny felt pads so your case doesn’t scratch your floors—the love is in the details, and trust me, you’ll feel it every time you admire your collectibles.
Step-by-Step Guide to Constructing Your Display Case
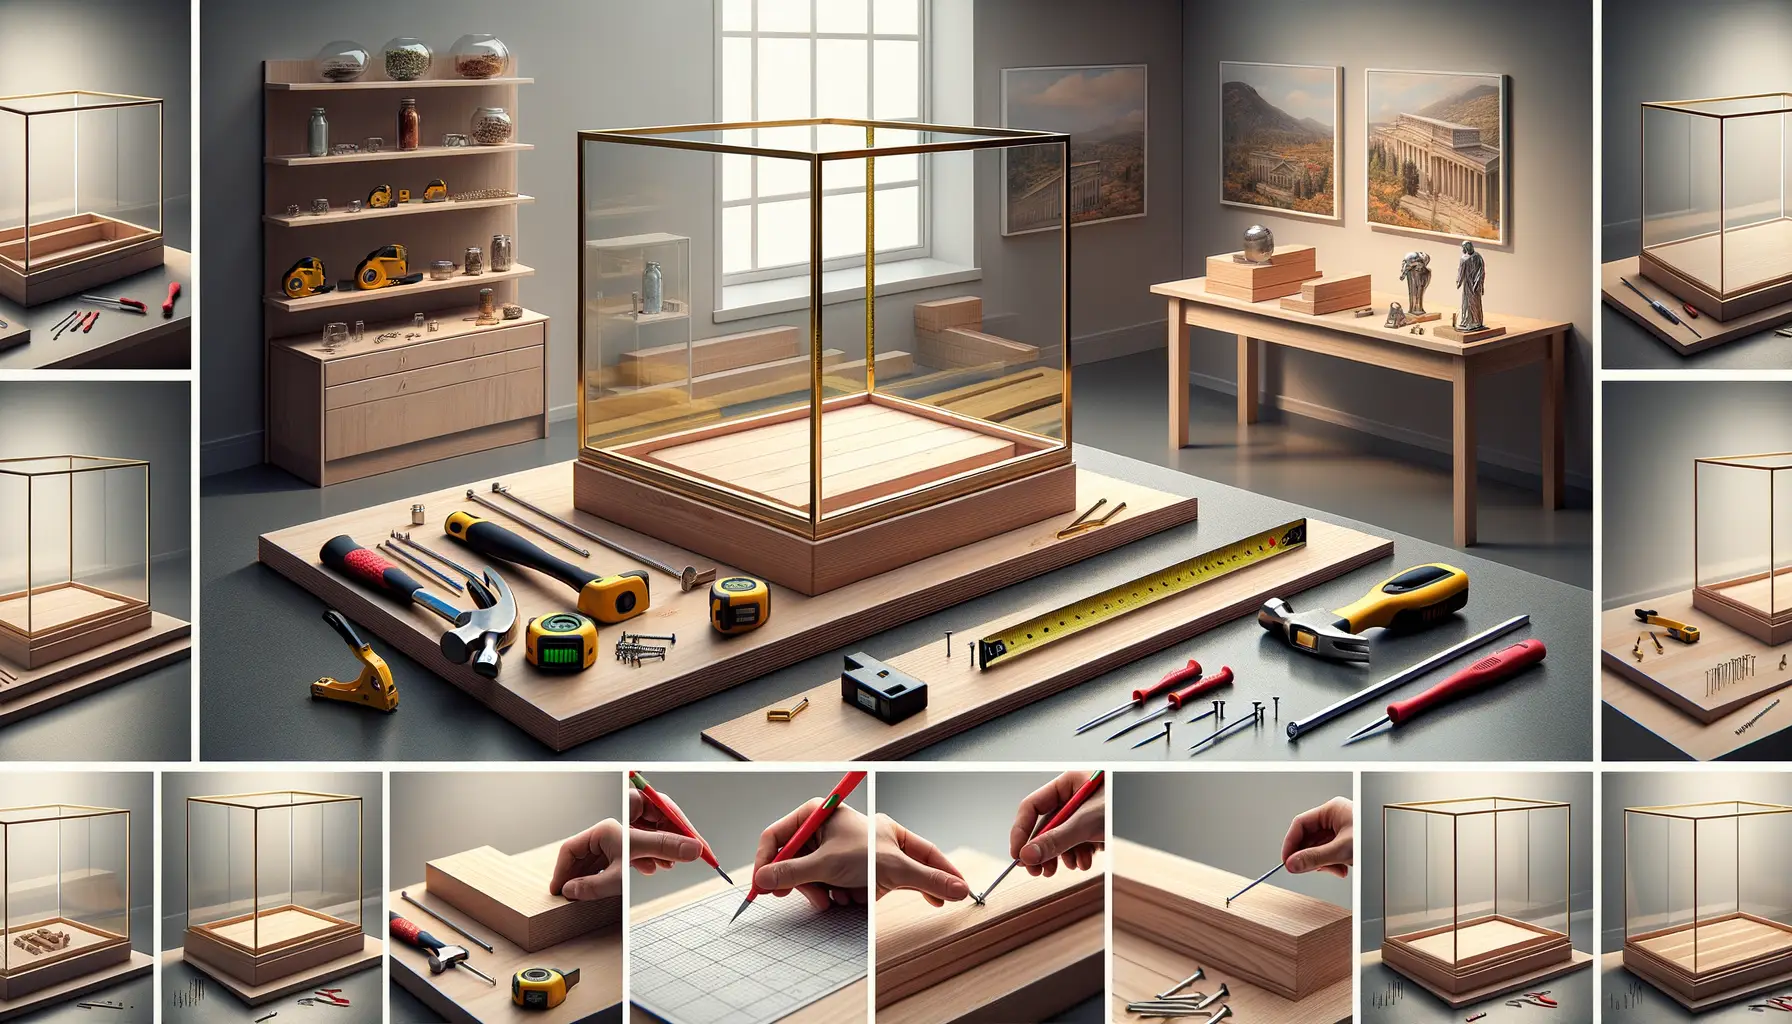
Get Your Tools and Materials in Order
Before diving into this creative project, it’s important to have everything at your fingertips—like a chef prepping their ingredients before cooking. Here’s what you’ll need:
- Wood or acrylic sheets for the frame
- A glass pane or acrylic panel for the display front
- Nails, screws, or wood glue—your trusty sidekicks!
- Tools like a saw, drill, screwdriver, and clamps (Pro tip: Borrow them from a friend if you’re missing any!)
- Paint or stain for that final touch of personality
Lay everything out on a clean workspace where nothing rolls away—yes, I’m looking at you, mischievous screws!
Bringing Structure to Life, One Piece at a Time
Start by cutting your wood or acrylic pieces to size. Not great with precision? No worries—measure twice, cut once. Think of these pieces as puzzle parts that will soon snap—or screw—together. Once cut, assemble the base and sides like a sturdy box. Clamp them tight, as if hugging your creation into place, then secure with screws or glue.
Slide in your glass or acrylic panel for the front. It’s the crown jewel that makes your collectibles shine! Remember, gentle hands win here—don’t rush it. Add shelves inside if needed, measuring your prized items to ensure they’ll sit perfectly. Once everything is fitted, sand sharp edges and finish with paint or stain. Now, doesn’t that feel satisfying?
Design Tips for an Eye-Catching Display Case
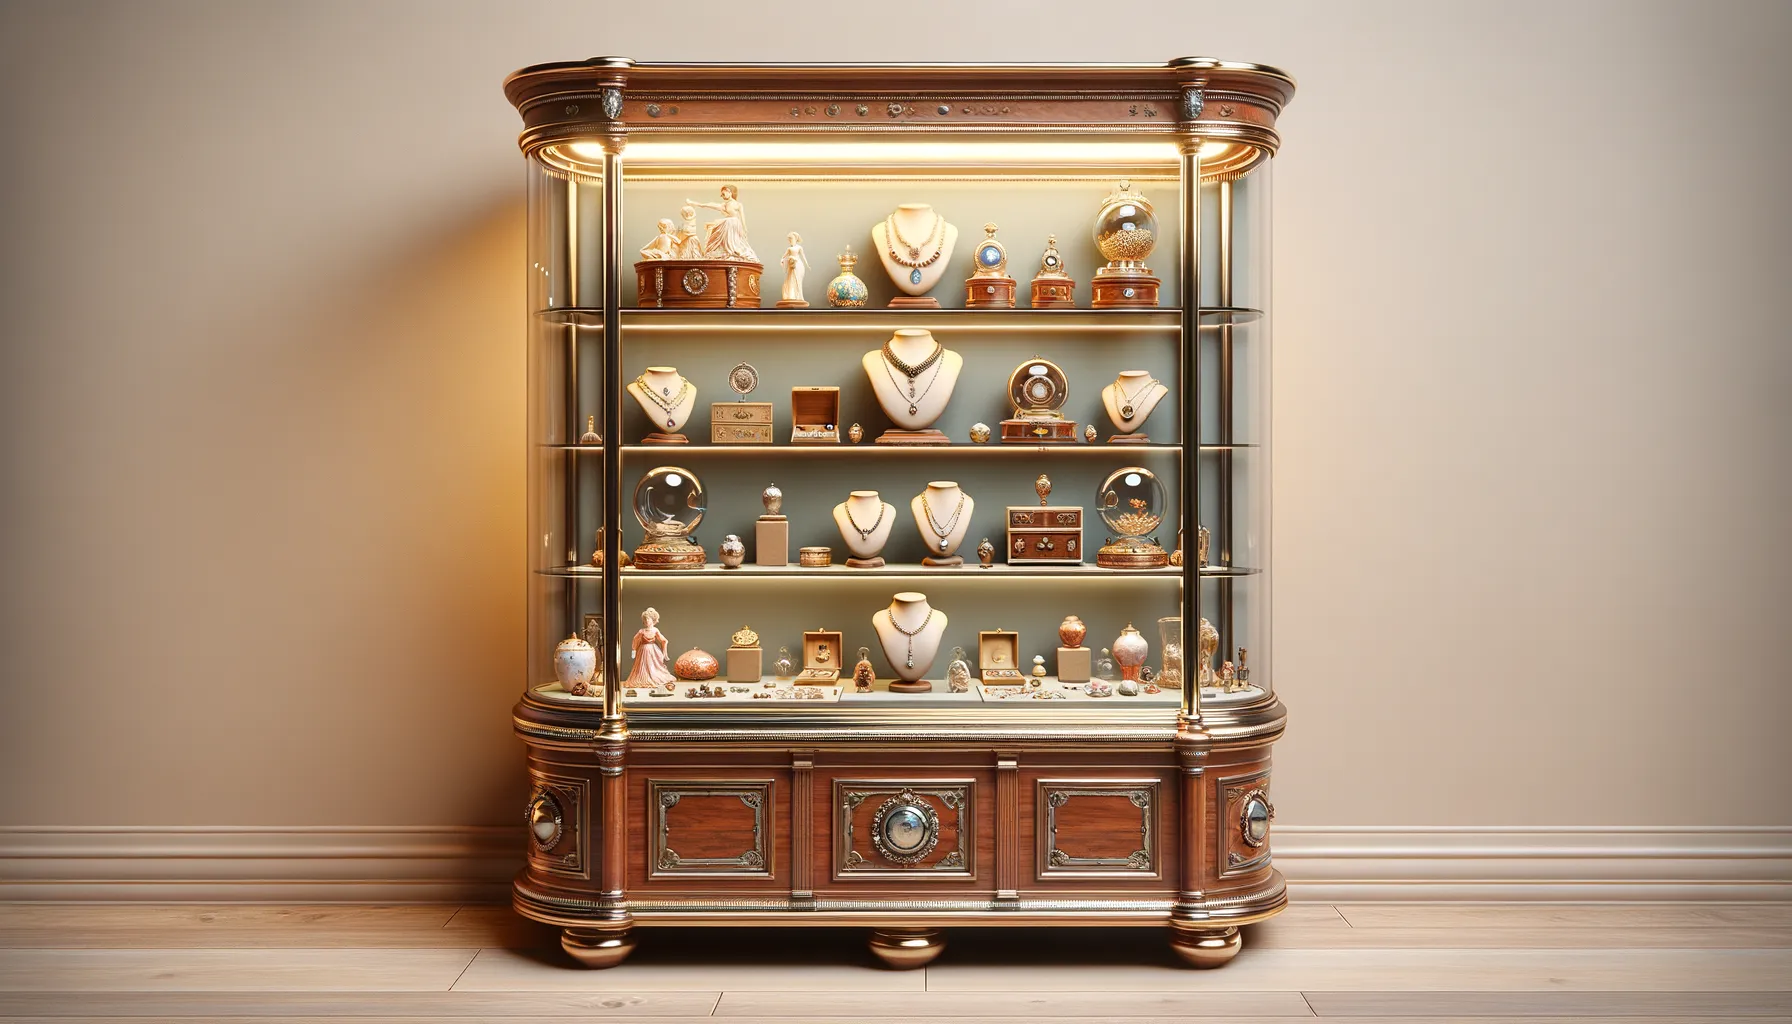
Start With a Theme That Speaks to You
Your display case isn’t just a storage box—it’s a window into your world. Before you even pick up a paintbrush or trim a piece of wood, think theme. Are you showcasing vibrant vintage toys? Go for bold colors and geometric designs that pop. Love antique curiosities? Imagine deep wood tones and brass accents for old-world charm. A strong theme ties your case together like the perfect frame on a masterpiece.
Once you’ve settled on a vibe, consider playful details to enhance it:
- Add LED strip lights for collectibles that deserve their moment in the spotlight.
- Incorporate patterned back panels or textured materials, like cork or velvet, to create depth.
Arrange Like a Story, Not a Shelf
A cluttered collection won’t do justice to your treasures. Think of your display case as a stage where every item is a star. Use pedestals, stands, or varying shelf heights to mimic a layered narrative. Keep the colors cohesive but add one surprise element—maybe a metallic accent or quirky prop—to keep it interesting. Trust me, your guests will lean in for a closer look.
Maintenance and Care for Your Display Case

Keep Your Display Case Gleaming Like a Jewel Box
Your display case isn’t just furniture; it’s the guardian of your treasures, the stage where your collectibles shine. Regular care ensures your case looks as stunning as the pieces inside it. Start by wiping down the exterior with a soft, lint-free cloth to remove dust—because let’s be honest, even the most dazzling collection loses its magic under a dull layer of grime. For glass panels, skip the harsh sprays. Instead, use a gentle, ammonia-free cleaner to make them sparkle without streaks.
Got wooden elements? Treat them like royalty! A quick rubdown with a quality wood polish now and then adds depth to the grain and keeps the frame from looking tired. And don’t forget the hinges and joints—give them a check-up every few months. A squeaky door won’t just annoy you; it’ll steal attention from your prized possessions.
- Use microfiber cloths to avoid scratches on delicate surfaces.
- Spot clean smudges immediately to prevent stubborn marks.
- Keep the case away from direct sunlight—UV rays can fade not just wood but even the vibrant colors of your collectibles.
Small Habits That Save Big Repair Woes
Neglect may sneak up on you if you’re not careful, especially with display cases housing delicate treasures. Did a shelf take on more weight than it should? Redistribute items before it bends or bows. If you notice screws or fasteners loosening, grab a screwdriver and tighten them right away. These tiny maintenance moments keep your hard work intact for years to come.
And here’s a pro tip: every season, rotate items in your case. Not only does this refresh the look, but it also helps you catch any damage to either the case or your collectibles before it worsens. Because caring for your display case isn’t just about cleaning—it’s about preserving the joy it brings, one dust-free, tightly-screwed corner at a time.
Common Mistakes to Avoid When Building a Display Case
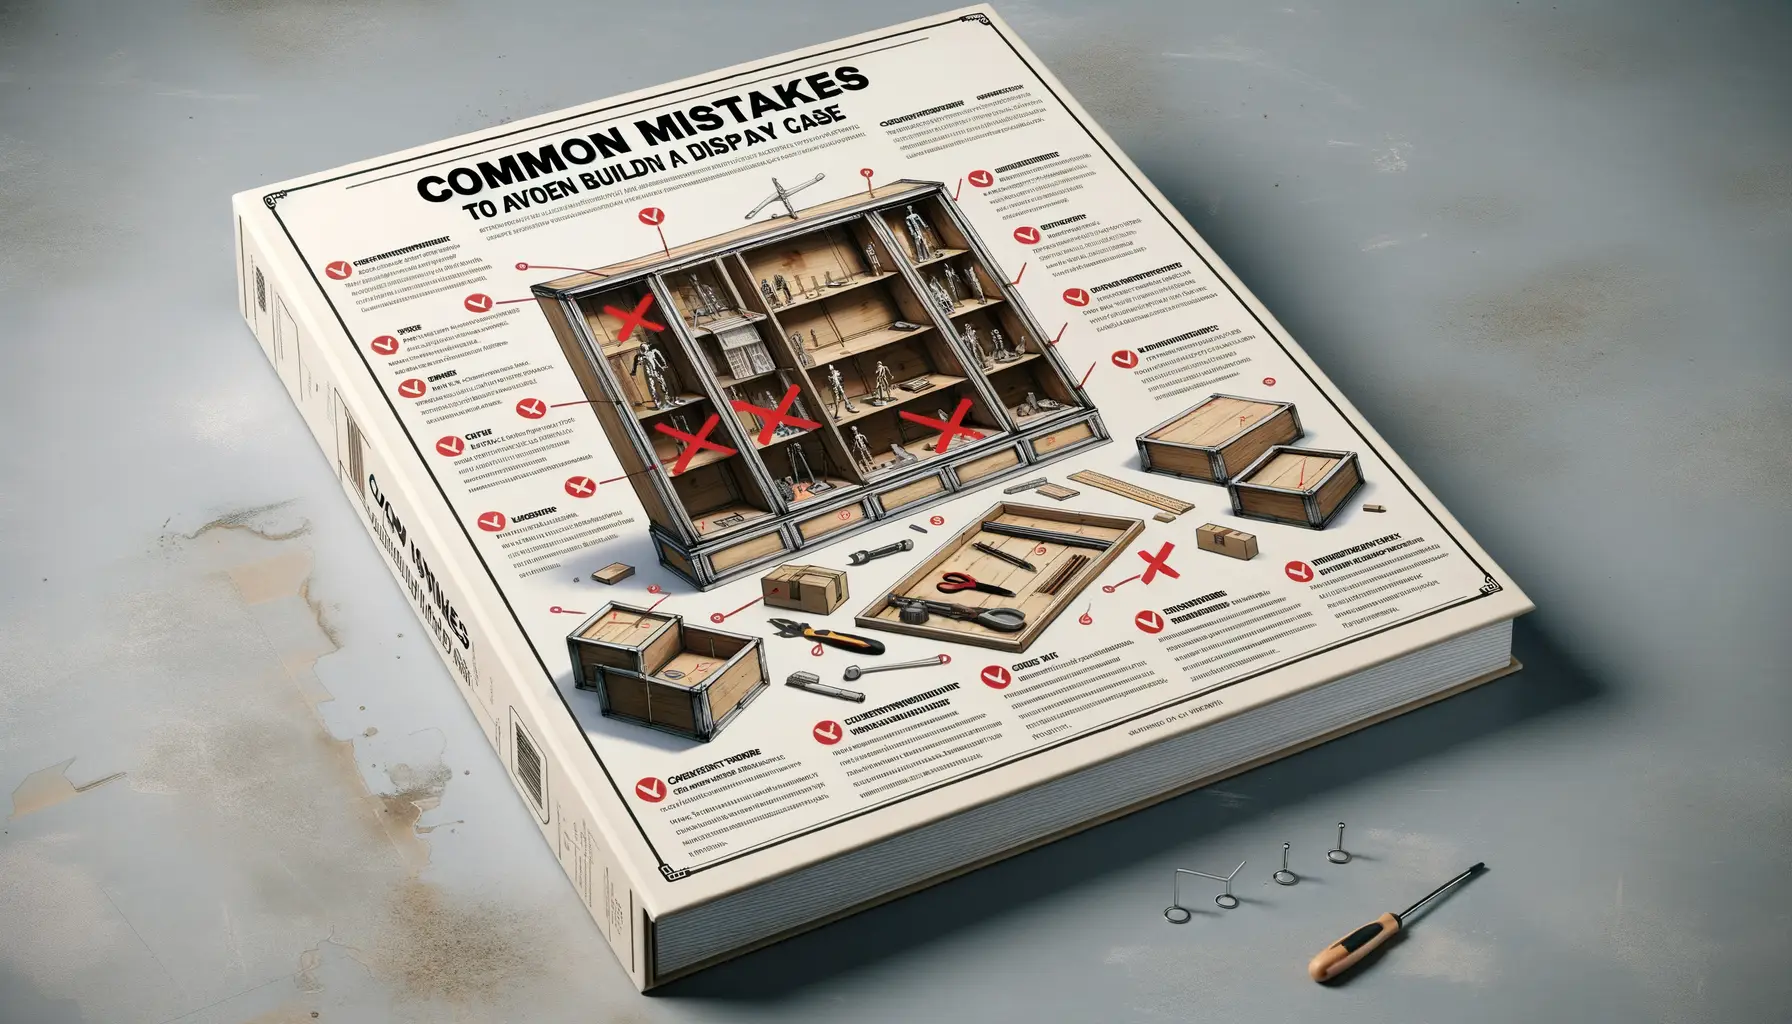
Skipping Precise Measurements
Let’s face it—getting out the tape measure isn’t glamorous, but skipping this step can turn your dream display case into a DIY disaster. Imagine putting hours into crafting it, only to find your shelves are uneven or your prized collectibles don’t fit. Yikes! Grab that measuring tape and double-check every dimension like your life depends on it. Remember, when it comes to building, precision is your best friend, not an annoying chore.
- Cutting materials too quickly: Slow down! Rushing this step is the fast track to misaligned edges.
- Overlooking depth: Your case shouldn’t just look good; it needs to comfortably hold your treasures without overcrowding them.
Ignoring Material Selection
Think of your materials as the DNA of your display case. Using weak wood or flimsy acrylic? That’s like building a castle on quicksand. Always pick sturdy, high-quality materials that match the weight of your items. For example, heavy figurines on thin glass shelves spell trouble—and shattered dreams.
And let’s not forget screws and glue. Some adhesives look strong but can fail over time. Opt for trusted brands and test their strength before full assembly. Your collectibles deserve a solid home, not a rickety mansion!